Categories
Programming

Integrate Testflight, Flurry and Corona SDK

Testflight

I use Testflight to coordinate pre-releases of software I develop for the iOS platform. Testflight is an amazing tool and I’m surprised Apple hasn’t bought the company yet. You simply create a group of people, send out invites and have them register their devices with Testflight. Unfortunately, the provisioning profile in the iOS ecosystem is a huge clusterf*ck, so you have to manually and not to mention painfully add these identifiers to your provisioning profile in the Apple Developer Portal.

When the profile is updated with the correct devices, you upload the .IPA to Testflight and add some release notes and hit send. The people participating in your beta release will then get an email that they can download a new version.

Testflight and Corona SDK

At work, we use the Corona SDK to develop multi platform games. Corona Labs describes their product as follows:

Corona SDK is the leading mobile development framework. Build high-quality apps and games for iOS, Android, Kindle Fire and Nook in record time.

It works remarkably well, not too much problems and it’s easy to deploy. Anyway, to integrate Corona SDK and Testflight you need to do a couple of things:

  • Build your software and generate the application and it’s zip file
  • Create a new folder called ‘Payload’ and move the application file into it
  • Compress that file and change its extension to .ipa instead of .zip
  • Upload the IPA to Testflight

Flurry

Screen Shot 2013-02-10 at 13.48.39
Flurry’s error log

Flurry is a great tool for gathering statistics, I’ve used it in all applications I’ve created for iOS and made sure its been used on Android as well. One of the best features for me as a developer is the fact that I get access to the crash reports (see the picture below).

To use Flurry with Corona, you use their analytics library.

-- Import library and initialize with personal application key 
require "analytics"
analytics.init( "YOUR_APP_KEY" )
-- Log event ID
analytics.logEvent( "Event ID" )

One thing I sometimes wish I would’ve implemented earlier in the project, is a log inside the app. The log should save the current state and the roadmap with the relevant server/client calls that took them there. It should also include the option to send this log to the developer.

2013-02-10 13.45.02
Evernote’s log

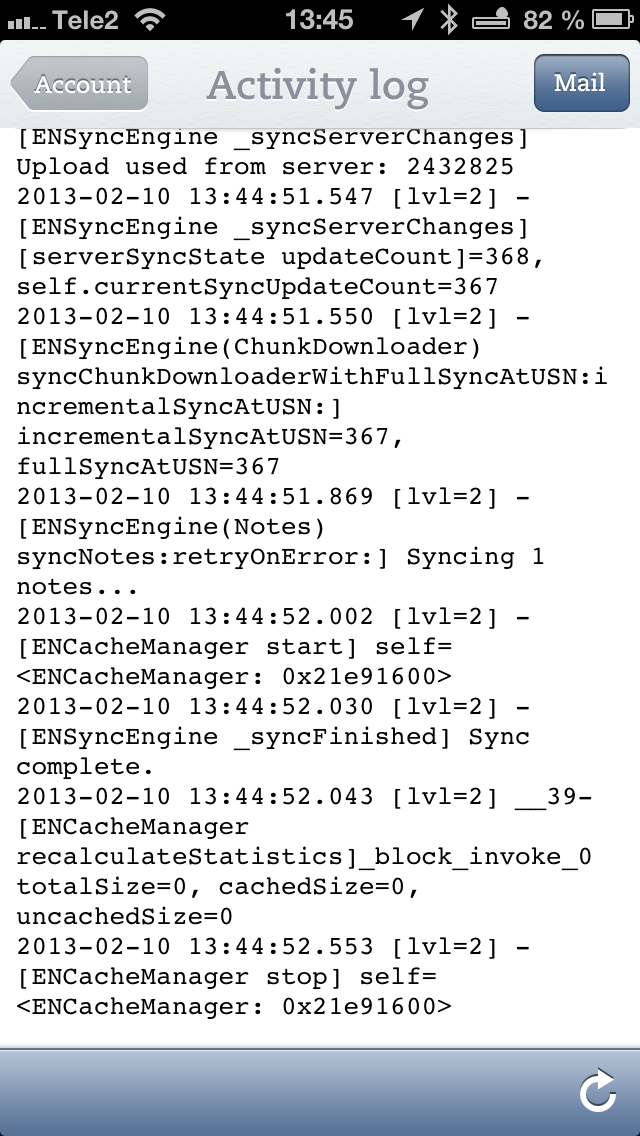
Evernote has implemented this very neat and it could be of tremendous help when debugging the communication between the server and the clients.

Categories
Programming

Använd Mogenerator med Core Data och Xcode

Sedan i början av sommaren har jag jobbat med att utveckla iOS-applikationer och har spenderat en hel del tid de senaste månaderna med Objetive-C, Xcode och Core Data. Core Data är utvecklat av Apple och har funnits med sedan ett par releaser av iOS tillbaka. Core Data är enkelt uttryckt Apples svar på modell-delen i MVC-paradigmen (Model View Controller). Det hanterar migreringar, serialisering av data och manipulation samt läsning av data i databasen.

Det funkar riktigt bra för det mesta, däremot har jag dragit mig för att göra vissa ändringar i modellen för att det blir så rörigt med mina “custom entity files”. Då kan vi passa på att säga välkommen till Mogenerator!

mogenerator generates Objective-C code for your Core Data custom classes. Unlike Xcode, mogenerator manages two classes per entity: one for machines, one for humans. The machine class can always be overwritten to match the data model, with humans’ work effortlessly preserved

Xmo’d seamlessly integrates mogenerator into Xcode

Mogenerator hjälper oss med att generera nya entity filer utifrån vår modell, nu slipper jag alltså göra det manuellt (och ofta göra fel på vägen). Dessa filer håller sig synkroniserade och uppdaterade mot min modell.

Börja med att installera Mogenerator från webbplatsen.

Installera i Xcode

  • Öppna projektinställningarna, skapa ett nytt target (“Add Target”)
  • Skapa ett “Aggregate target”, finns under Other.
  • Välj ett namn och tryck “Done”.
  • Välj det target som du nyss skapade och tryck “Add Build Phase” och sedan “Add Run Script”.
  • Fyll i följande information i scriptet, justera såklart med vad som gäller för din modell:
cd dinapp/coredata/
mogenerator -m app.xcdatamodeld/app.xcdatamodel/

Nu kan du sedan välja detta target uppe i vänstra hörnet och trycka Command+B (Build) och luta dig tillbaka medans Mogenerator skapar dina filer.

Glöm inte bort att välja samma klassnamn i fältet för “Class” när du modifierar din entity i modellen, annars genererar inte Mogenerator några filer. Första gången du skapar dina modeller kommer du behöva lägga till filerna i Xcode manuellt, sedan sköts detta genom att filerna bara skrivs över.

För mer information om fördelarna med att använda Mogenerator så rekommenderar jag följande inlägg: Getting Started with Mogenerator.